
 Image 1 of 3
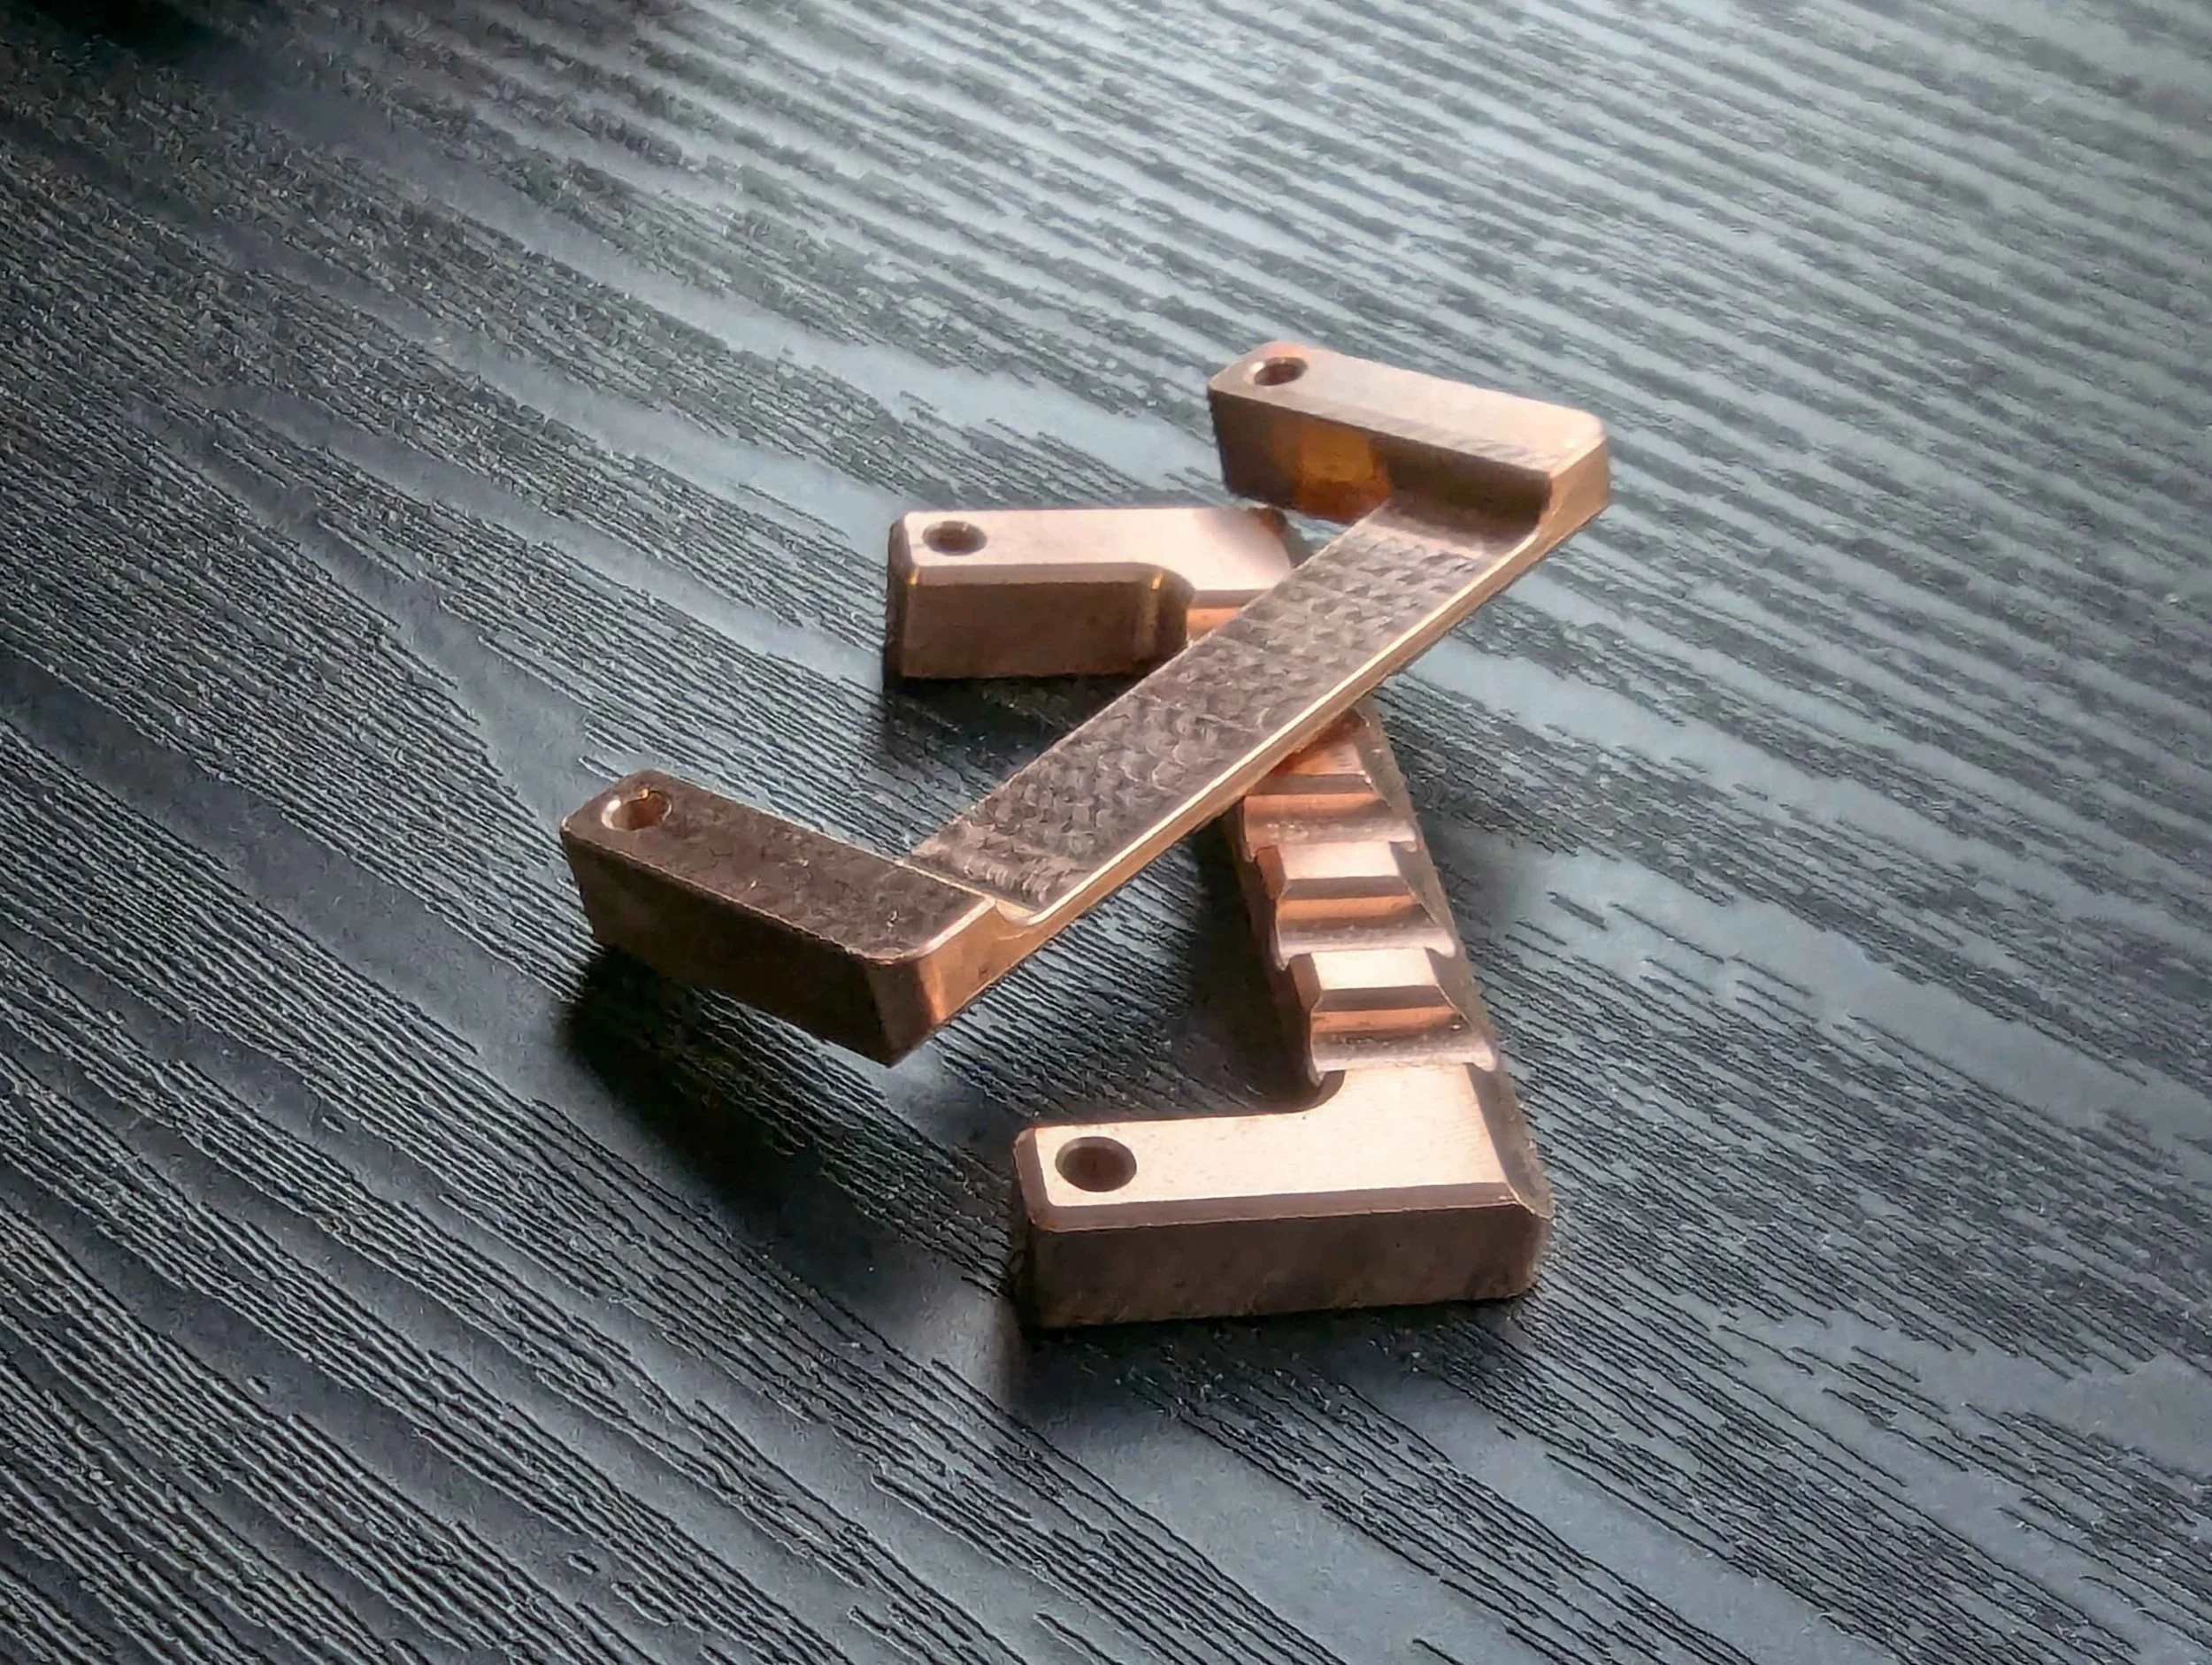 Image 2 of 3
 Image 3 of 3
Keep heat where it's supposed to be.
These mount directly on top of your current heater controller; no modifications are needed. Visibility of all 4 activity lights is retained, and the total height remains flush with the heater connector.
Mounting Kit Includes:
X2- M2x10 Screws
X2- M2 Hex Nut
How To Use:
Peel the thermal pad and place the heatsink onto the controller using the through-holes to align the part with the PCB.
Using the included hardware, tighten the heatsink in place.
Benefits:
More thermal mass over the top of the mosfets allows them to be run more aggressively.
Higher amounts of surface area aid in cooling ability.